Motorized pergola controls should be specified as a system, not selected as a last-minute accessory. Voltage, motor torque, remote channels, sensors, lighting and wiring all affect installation, commissioning and future service.
Table of Contents
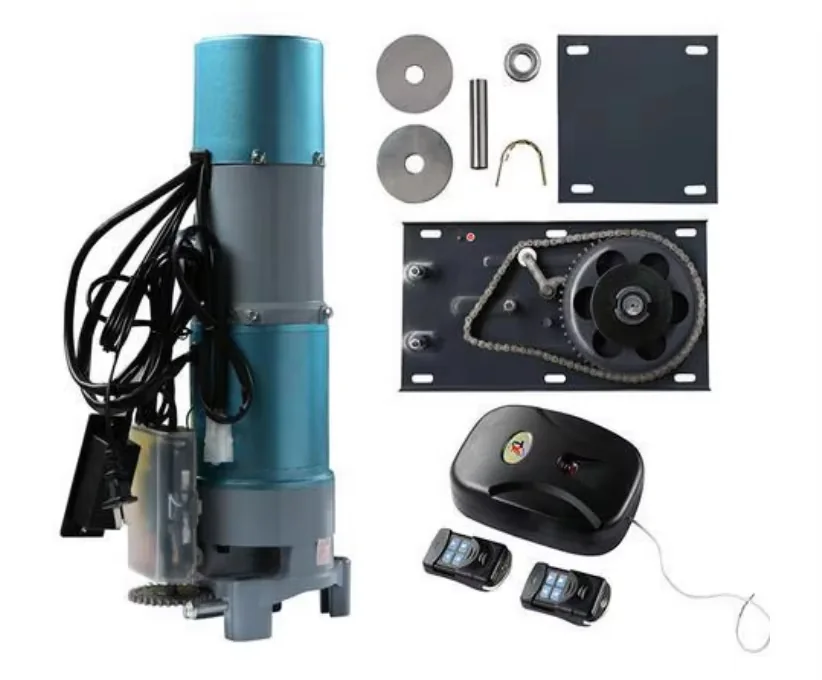
Short answer: what must match?
Motorized pergola controls must match the motor voltage and frequency, channel architecture, receiver, remote, sensor logic, lighting load, wiring method, manual override and local electrical requirements. The configuration should be frozen in the drawing and quotation before production.
For a distributor, the goal is not the most features. It is a system that installers can wire, customers can understand and the service team can identify two years later.
10 compatibility checks before ordering
1. Confirm the electrical supply
Record destination voltage, frequency, plug or fixed connection, isolation method and whether the site uses a dedicated circuit. A sample that runs correctly at the factory can be unsuitable if the destination supply differs.
Include the electrical boundary in the quotation. Local electrical work should remain with a qualified professional.
2. Match motor capacity to the configuration
Motor selection depends on louver size, roof configuration, wind exposure, friction and the number of modules. Ask the supplier to identify the approved motor for the exact configuration rather than choosing by appearance or price.
Link this decision to the pergola manufacturer audit so model and motor evidence remain together.
3. Map channels and groups
Specify whether one remote controls one motor, one bay or a group of bays. Record channel count, pairing method, reset procedure and what happens when a new module is added later.
A simple channel map prevents a common handover problem: the customer can move one roof but cannot explain which remote controls the screens or lights.
4. Decide how sensors affect operation
Wind, rain, sun or temperature sensors can change behavior and customer expectations. State which sensors are included, where they are located, what threshold they use and whether the user can override automatic action.
Automation supports safe operation but does not remove the user’s responsibility to follow the product’s weather guidance.
5. Separate motor, receiver and control records
Keep the motor model, receiver model, remote reference, firmware or generation and production order together. Similar-looking components may differ by voltage, channel, connector or software.
The dealer support playbook explains how to make these records useful during a warranty case.
6. Specify lighting and accessory loads
Integrated LED strips, heaters, fans and screens add power and control requirements. Confirm whether they use a separate circuit, a shared remote, a relay or an independent switch.
Do not assume that a motor receiver can safely control every accessory. Put the load and interface in the approved electrical diagram.
7. Plan smart-home or building-control interfaces
If a project requests a smart-home, BMS or dry-contact interface, define the exact signal and responsibility. “Smart compatible” can mean a simple contact input, a gateway or a proprietary cloud platform.
Ask who supplies the gateway, who commissions it and who supports the customer after a network change.
8. Check cable routes and access
Show motor positions, cable entry, junction boxes, service access and drainage in the drawing. Hidden wiring that cannot be reached later increases the cost of a small repair.
Use the installation partner guide to define hold points before ceilings, cladding or landscaping hide the route.
9. Test commissioning and reset procedures
A commissioning checklist should cover travel limits, alignment, stop controls, remote pairing, lighting, sensors, unusual noise and safe shutdown. Record the final settings and a short video.
Teach the installer how to reset one module without accidentally unpairing the entire project.
10. Keep replacement parts available
Ask about motor, remote, receiver, driver, sensor, seal and cable lead times. A dealer does not need to stock every part, but should know which items can be held locally and which require factory confirmation.
Map dealer SKUs to factory references in the private-label record. The OEM guide explains revision control for branded ranges.
Control-system specification table
| Item | Record | Approval owner |
|---|---|---|
| Power | Voltage, frequency and isolation | Local electrical professional |
| Motor | Model, torque and module | Supplier and engineer |
| Remote | Channels and grouping | Dealer and customer |
| Sensors | Type, location and threshold | Supplier and installer |
| Lighting | Load, driver and switch | Electrical professional |
| Service | Part numbers and reset steps | Dealer support team |
Frequently asked questions
Can one remote control every pergola?
Only when the motor, receiver, channel architecture and pairing procedure are compatible. Confirm the exact system rather than assuming similar remotes will work.
Should smart-home integration be included in the factory quote?
Include the agreed interface and wiring boundary. The customer’s building-control contractor may supply the gateway or programming, so responsibilities must be written clearly.
What should a dealer record after commissioning?
Record motor and receiver labels, remote channel map, final settings, sensor behavior, test video and customer handover. These details shorten future diagnosis.
Specify controls before the quotation is final
Motorized pergola controls become dependable when the electrical diagram, drawing, order record and handover use the same model names. LINGYUE can review your system, destination voltage, control requirements and annual volume through the project quotation form.
motorized pergola controls: distributor handover checklist
For distributors, motorized pergola controls should be frozen in the quotation, drawing and service record. Confirm motorized pergola controls with the installer before production so the delivered system matches the approved project.
Use this motorized pergola controls record to align factory references, dealer SKUs, installation notes and warranty evidence. A clear motorized pergola controls process reduces rework and makes repeat orders easier to forecast.
For technical references, review the relevant guidance from the official standards organisation and keep the applicable requirement with the project file.
Controls and commissioning references
Keep the control map connected to the motorized pergola specification, motor and control testing workflow, after-sales process and technical FAQ. For electrical and control-system terminology, start with the International Electrotechnical Commission and then confirm the exact local electrical code with a qualified professional.